GreaseGun Valve Teardown
Written 2015-12-14
Tags:GreaseGun Teardown Valve
Intro
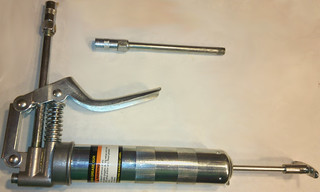
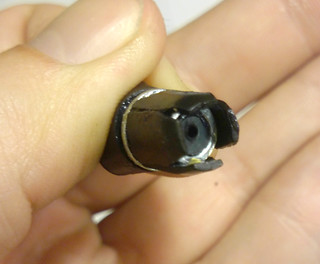
Ever wonder how a grease gun
squirts grease when you want it, and the stops immediately after releasing the trigger,
even though the reservoir is still slightly pressurized? This is my grease gun, and for
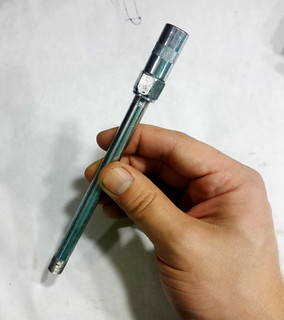
some reason I have a spare, unused, valve and rod.
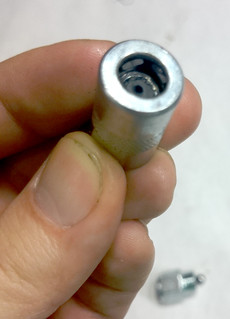
Disassembly
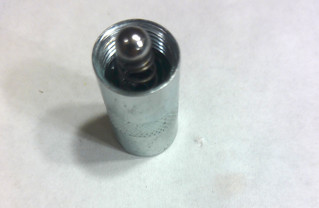
Disassembly is quite simple, just unscrew the parts. Watch out, as there's a spring-loaded ball-bearing inside.
Exploded diagram
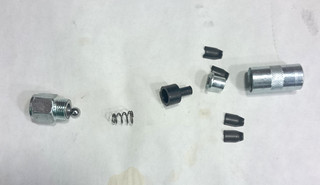
From left-to-right:
- Valve Body - Spring squished here, half of body
- Valve Spring - Pushes spring against body
- Rubber Insert - holds spring and interfaces from valve body to zerk fitting
- Metal Bushing - holds zerk-teeth
- Zerk Teeth - grab onto zerk fitting
- Valve Housing - holds teeth in, outside half of body
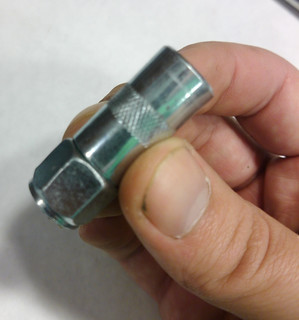
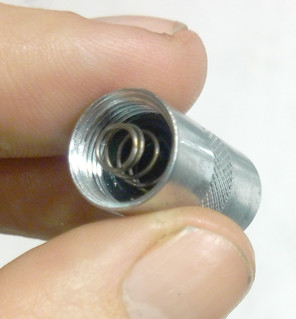
Zerk Interface
Assembling the rubber insert into the bushing, and sticking the teeth on with a bit of grease, this piece grabs the zerk fitting and grease flows through it into the zerk.
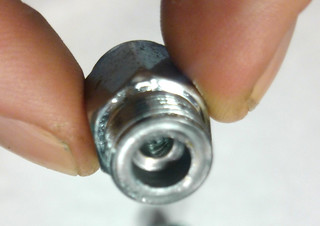
Zerk Interface Installed in Housing
Valve Body
This is where the ball cuts off the flow of grease as soon as the grease pressure is less than that of the spring.
Ball Installation and Assembly
Simplest installation is to stick ball to spring with a dab of grease, then screw the housing and body together. You can also do this without grease by keeping the spring completely level.
All Done